

Drones have taken the world by storm, revolutionizing various industries and capturing breathtaking aerial footage.
Whether you’re a professional drone pilot or an enthusiast, encountering a drone that refuses to take flight can be frustrating. But fear not!
In this blog, we’ll delve into the realm of troubleshooting and explore the common reasons of why drones won’t fly. More importantly, we’ll equip you with practical solutions to get your drone back in the air where it belongs.
Some common reasons why a drone would not fly are the warmup period, battery-related issues, motor problems, sensor or GPS issues, propeller or rotor issues, faulty remote controller, software-related problems, restricted areas, and so on.
Whether you’re a seasoned drone pilot or a beginner, this comprehensive guide will help you diagnose and resolve the most common issues that hinder your drone’s flight.
Common Reasons Why Drones Won’t Fly and Fixes
1. Warm Up Period
Many drones, particularly recent or complex versions, have a warm-up phase that basically indicates to the user that the drone is not yet ready to launch.
During the warm-up period, the drone performs a series of self-checks, calibrations, and system tests to ensure that all components are functioning optimally.
This process typically takes anywhere from a minute to 3-5 minutes, depending on the drone model and various other factors.
It’s crucial to allow the necessary time for the drone to complete its warm-up process before trying to launch it into the air.
In certain weather conditions, such as cold temperatures, the warm-up period may take longer than usual.
2. Battery-related issues

Low battery voltage
One of the primary culprits behind a drone’s failure to take flight is low battery voltage. Drones heavily rely on their batteries to power motors and other components.
If the battery voltage is too low, it can result in diminished motor power, leading to unstable flight behavior and potential crashes.
To address this issue, always ensure that your drone’s battery is adequately charged before each flight.
Damaged or malfunctioning battery
Physical damage or internal faults in the drone’s battery can significantly impact its performance and safety.
Before attempting a flight, carefully inspect the battery for any signs of swelling, leakage, or damage to the connectors.
If you suspect a faulty battery, it is crucial to replace it with a new, reliable one to avoid potential hazards and ensure optimal flight performance.
Investing in high-quality batteries and handling them with care will help prevent battery-related issues during the warm-up period and throughout your drone’s lifespan.
3. Motor problems
One common reason for a drone’s failure to fly is motor-related issues.
Incorrect motor calibration:
Motor calibration is a crucial step in ensuring proper drone operation. When the motors are not calibrated correctly, it can lead to imbalanced thrust and instability during flight. To fix this issue, follow these steps:
Consult the user manual: Refer to your drone’s user manual for specific instructions on motor calibration. Each drone model may have slightly different calibration procedures.
Access the calibration settings: Most drones allow motor calibration through a companion app or the drone’s controller. Connect your drone to the app or controller and access the settings menu.
Initiate motor calibration: Look for the motor calibration option and follow the on-screen prompts to begin the calibration process. Typically, this involves spinning the motors at full speed and then stopping them.
Repeat the process: After completing the calibration, repeat the process for each motor to ensure all motors are calibrated accurately.
By correctly calibrating the motors, you can restore balance and stability to your drone’s flight, allowing it to take off and maneuver smoothly.
Malfunctioning or damaged motor
Another motor-related problem that can prevent your drone from flying is a malfunctioning or damaged motor.
Motors can become faulty due to various reasons, such as wear and tear, overheating, or physical damage.
Here’s what you can do to address this issue:
Inspect the motors: Carefully examine each motor for signs of damage, such as bent or broken propeller shafts, loose wires, or physical debris obstructing the motor’s movement.
Test the motors individually: Disconnect the propellers and test each motor individually.
Connect the drone to the power source and gradually increase the throttle to observe if the motor spins smoothly and without any unusual noise or vibration.
If you notice any abnormalities, such as the motor not spinning or producing strange sounds, it is likely malfunctioning.
Replace the malfunctioning motor: If you determine that a motor is malfunctioning or damaged, it is best to replace it with a new one. Contact the drone manufacturer to obtain a compatible replacement motor.
It’s important to note that if you are uncomfortable with performing motor-related repairs or lack the technical knowledge, it is recommended to seek professional assistance.
Drone repair services or contacting the manufacturer’s customer support can provide expert guidance and ensure the problem is resolved safely.
4. Sensor and GPS issues
Sensor calibration errors
Sensor calibration is a crucial step in ensuring accurate flight performance. If the sensors on your drone are not calibrated correctly, it can result in erratic flight behavior or even a complete refusal to take off.
To fix this issue, refer to your drone’s user manual for specific instructions on sensor calibration. The calibration process may vary depending on the drone model.
GPS signal interference
Global Positioning System (GPS) signal interference can significantly impact a drone’s ability to fly. GPS is crucial for maintaining stable flight, accurate positioning, and reliable navigation.
Interference can be caused by various factors, such as nearby electromagnetic sources or poor satellite reception. To address this issue, consider the following steps:
Check the environment: Make sure you are flying in an open area away from structures or objects that could potentially interfere with GPS signals.
Avoid flying near tall buildings, dense forests, or areas with heavy radio frequency (RF) activity.
Calibrate the compass: Many drones have a compass that works in conjunction with GPS for accurate positioning. Follow the manufacturer’s instructions to calibrate the compass, usually by rotating the drone in a specific pattern or following on-screen prompts.
Update firmware: Ensure that your drone’s firmware is up to date. Manufacturers often release updates that improve GPS performance and address known issues.
5. Propeller or rotor issues
When it comes to drone flight, the propellers or rotors play a crucial role in generating lift and controlling the aircraft.
If your drone is refusing to take off, propeller or rotor issues might be the root cause.
There could be two common problems related to the propeller or rotor: incorrect installation or alignment and damaged propellers.
Incorrect Installation or Alignment
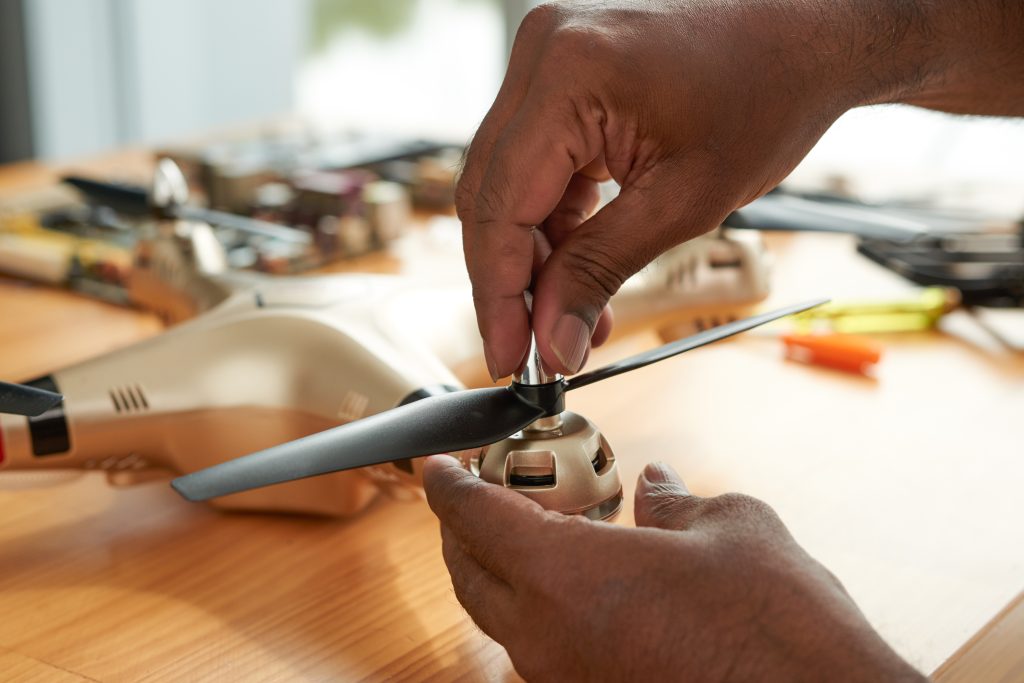
One of the main reasons for a drone’s failure to fly is incorrect installation or misalignment of the propellers. This can lead to imbalanced lifts and unstable flight behavior. To fix this issue, follow these steps:
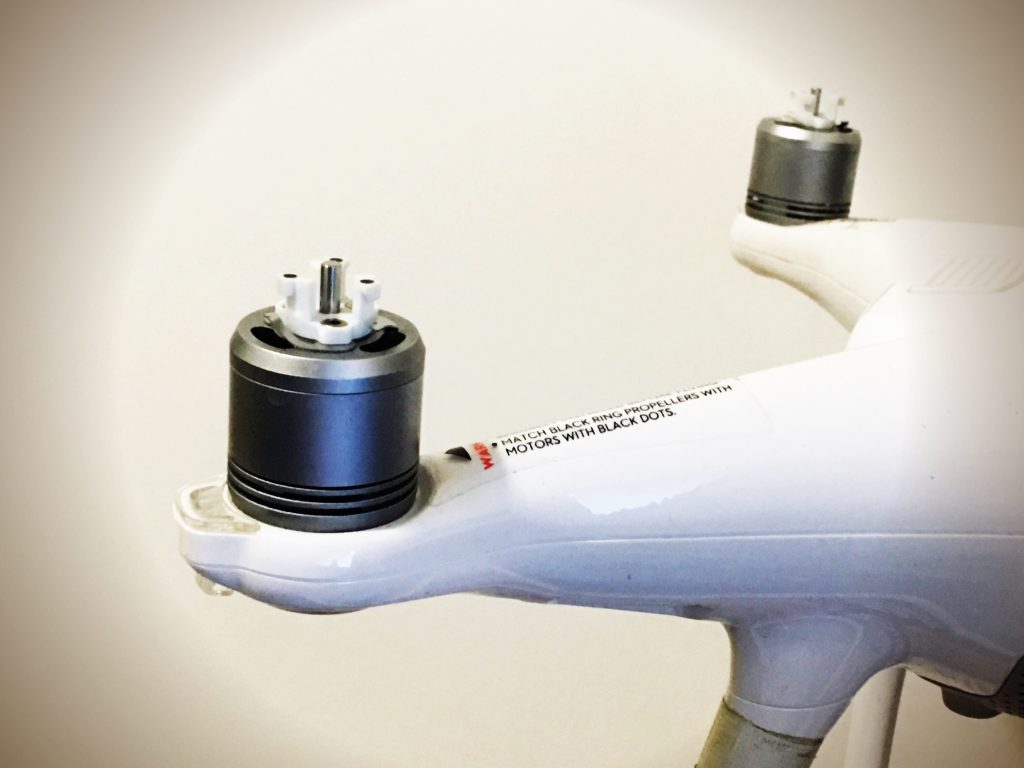
- Check the propeller markings: Most propellers have markings indicating their rotation direction, such as letters “A” and “B” or arrows. It is important to install each propeller in the correct position according to the markings. Make sure the propellers are placed on the correct motors to ensure proper rotation.
- Verify propeller tightness: Check the tightness of each propeller. Loose propellers can cause vibrations and instability during flight. Ensure that all propellers are securely tightened. However, be careful not to overtighten, as it can damage the propellers or motors.
- Align the propellers: Visually inspect the propellers to ensure they are aligned correctly. Each propeller should be parallel to the ground and have the same angle. If you notice any misalignment, gently rotate the propeller until it aligns properly. Pay attention to the position of each propeller and make necessary adjustments.
By ensuring proper installation and alignment of the propellers, you can restore balance and stability to your drone, allowing it to take off smoothly.
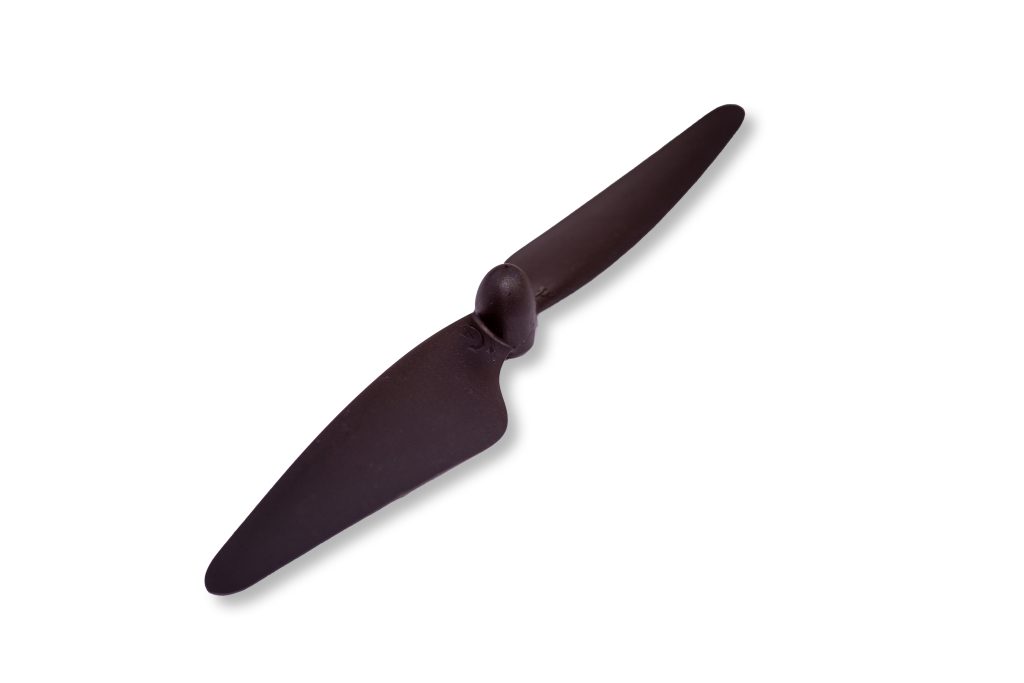
Damaged or Broken Propellers
Propellers are susceptible to damage, especially during collisions, rough landings, or encounters with obstacles. Damaged or broken propellers can hinder flight performance and prevent the drone from taking off.
To resolve this issue, follow these steps:
- Inspect the propellers: Carefully examine each drone propeller for any signs of damage, such as cracks or missing pieces. Even small damage can significantly impact the aerodynamics and balance of the propeller.
- Replace damaged propellers: If you identify any damage, it is crucial to replace the affected drone propeller with a new one. Contact the drone manufacturer or a reputable supplier to obtain compatible replacement propellers. Ensure that the new propellers match the specifications of your drone model.
- Proper installation of replacement propellers: When replacing the broken propeller and installing the new propellers, follow the manufacturer’s instructions to ensure correct installation. Double-check the markings and tighten them securely. Improperly installed replacement propellers can still cause flight issues.
Regular inspection of propellers is important to identify signs of wear or damage. It is advisable to carry spare propellers in your drone kit for quick replacement when necessary.
6. Faulty or Unresponsive Remote Controller
The remote controller plays a vital role in controlling and navigating a drone. However, encountering a faulty or unresponsive remote controller can be frustrating and prevent your drone from taking flight.

Faulty or unresponsive remote controller
A remote controller may become faulty or unresponsive due to various reasons, such as battery issues, signal interference, or internal malfunctions. Here are some steps to address this problem:
Check the battery: Ensure that the batteries in your remote controller are properly charged or replaced with fresh batteries. Weak or depleted batteries can result in poor signal transmission and unresponsive controls.
Verify signal strength: Check the signal strength between the remote controller and the drone. Weak or interrupted signals can cause the drone to become unresponsive.
Make sure you are within the recommended range for your drone and avoid flying in areas with high electromagnetic interference.
Reconnect the remote controller: If the remote controller loses connection with the drone, try reconnecting them. Follow the manufacturer’s instructions to reestablish the link between the remote controller and the drone.
Calibrate the remote controller: Some remote controllers have calibration settings that allow you to fine-tune the controls. Check your drone’s user manual for instructions on how to calibrate the remote controller. This process typically involves following on-screen prompts or manipulating the joysticks in specific patterns.
Update firmware and software: Ensure that both the remote controller and the drone’s firmware and software are up to date. Manufacturers often release updates to address performance issues and improve compatibility.
7. Restricted Area (Geo-Fence)
Drones are subject to certain regulations and restrictions to ensure safety and prevent unauthorized flights in restricted areas. When a drone encounters a restricted area (commonly known as a geo-fence or no-fly zone), it can prevent the drone from taking off or restrict its flight capabilities.
When a drone encounters a restricted area, it may refuse to take off or limit its flight capabilities. Here’s how to address this issue:
Familiarize yourself with the restricted areas: Before flying your drone, research and familiarize yourself with any restricted areas in your vicinity. Check local regulations, no-fly zone maps, or apps that provide up-to-date information on restricted areas.
Observe geo-fencing warnings: Many drones are equipped with geo-fencing technology that prevents flights in restricted areas. If your drone displays a warning or restricts flight within a specific area, respect the restrictions and do not attempt to fly there.
Unlocking restricted areas: In some cases, you may have a legitimate reason to fly in a restricted area, such as obtaining proper permits or authorization for professional purposes. In such instances, contact the appropriate authorities or airspace regulators to obtain permission and unlock the restricted area for your drone’s flight.
Update firmware and software: Ensure that your drone’s firmware and software are up to date. Manufacturers often release updates to include new geo-fencing data or modify restricted areas. Check the manufacturer’s website or companion app for any available updates and install them accordingly.
Fly in designated areas: To avoid restricted areas altogether, consider flying in designated areas approved for drone flights, such as open fields, parks, or designated drone flying zones. This ensures compliance with regulations and reduces the risk of encountering restricted areas.
It is crucial to respect and adhere to local regulations and restrictions regarding drone flights. Failure to do so can result in legal consequences or compromise safety and security.
Conclusion
In conclusion, encountering a drone that refuses to take flight can be frustrating, but it’s important not to panic.
By understanding the common reasons why a drone won’t fly and following the appropriate troubleshooting steps, you can often resolve the issue and get your drone back in the air where it belongs.
Throughout this article, we explored various potential problems and their corresponding solutions.
From battery-related issues like low voltage or damaged batteries to motor problems such as incorrect calibration or malfunctioning motors, each problem requires specific attention and troubleshooting techniques.
We also discussed how sensor and GPS issues, propeller or rotor issues, faulty or unresponsive remote controllers, and encounters with restricted areas could prevent a drone from taking off.
The key to fixing a drone that won’t fly lies in a systematic approach and careful attention to detail. Start by identifying the specific reason behind the problem and then follow the appropriate troubleshooting steps. Consult the drone’s user manual or manufacturer’s instructions for guidance, as each drone model may have unique requirements and solutions.
Additionally, it’s crucial to prioritize safety throughout the troubleshooting process. Always follow local regulations and restrictions regarding drone flights, respect no-fly zones or restricted areas, and fly responsibly. Safety should never be compromised in the pursuit of getting a drone to fly.
If you find yourself unable to resolve the issue through troubleshooting, don’t hesitate to seek expert advice. Drone repair services or contacting the manufacturer’s customer support can provide valuable insights and assistance in more complex situations.